
Photos can be amazing when they are originally taken, there is no doubt about that. You may capture a sunset or a landscape that looks perfect just the way it is in the photo. But, it never does hurt to do some simple editing to make it look even better. The first thing you need to do is to have a photo editor handy, no matter if you are taking the photos from your phone or with a camera. If you take photos on your phone, you can easily download a photo editing app and use that to edit your photo. Downloading photo editing apps that cost anywhere from $3-$10 is a safe bet, as it will ensure that you have all of the features in that app as well as remove any annoying ads that the free apps may have on them.
Editing Process
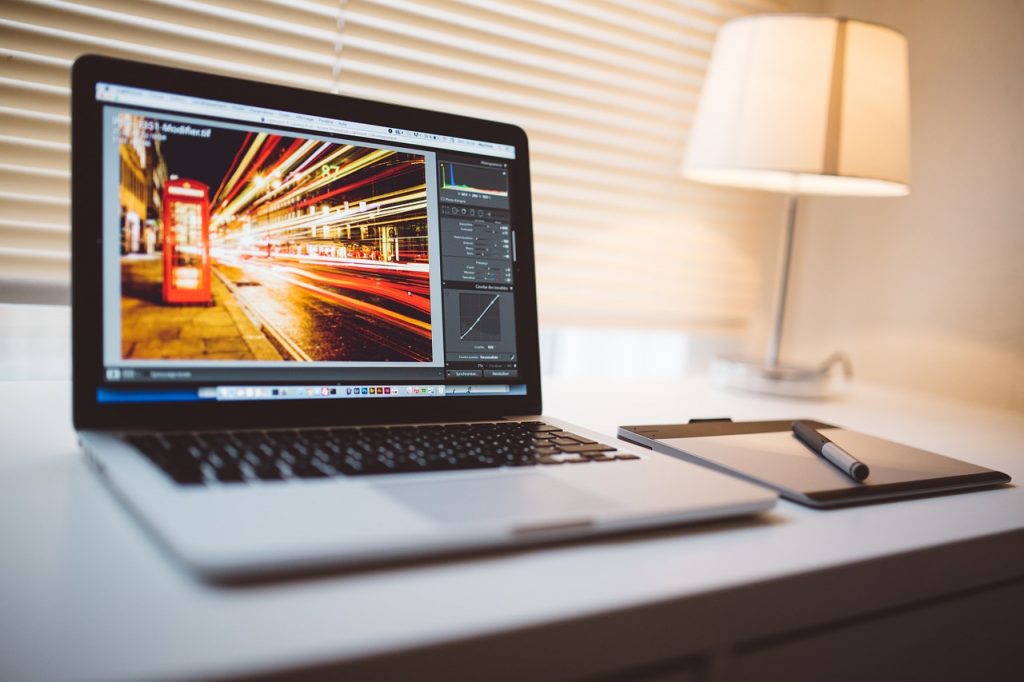
If you are using a computer to edit photos, you can have anything from a simple photo editor all the way to something more professional like photoshop. Depending on how serious you are with your photography, you can choose a program that suits your needs and doesn’t break the bank just to edit a few photos from your camera. But if you are editing photos that you want to look extra professional, then photoshop is probably the way to go.
The first thing you want to do when editing photos is to crop the photo into the size that you want, and straighten any crooked lines and make photo look like it was taken flat for a landscape photo. If you have a photo that is at an angle and you want it to stay that way, make sure everything is aligned with the direction of the photo so it looks just right. This is the first step because you want to make sure your photo is in the correct size and looks flat or angled just right before you start adjusting anything else.
After you crop and straighten, you will want to remove any unwanted things that may be in your photo, such as people in the distance that look like strange specs or any sort of object that doesn’t fit well with the theme of the photo. After you blend these out and smoothen the area that you took them out of, you can move to the lighting and color.
Changing the contrast of the photo is one of the most common edits that any photographer will make to the photo. Getting the colors to blend all around and not look too bright is the goal, so making sure you choose the correct brightness with the contrast of coloring that you use is very important. Make sure the focus of your picture has the best colors rather than the background, because that is what everyone is going to see first. If the background looks to be too dull, then just crop around the focus of the image and then change the contrast or color in that specific area.
Final Touches
Once you have done all of this, you need to always double check your edit to make sure that everything you wanted in the photo is there and that you have not shifted the focus of the photo into the distance so that the main focus is somewhat out in no man’s land. For landscape photos, this is not usually an issue, but you do want to make sure that if there are mountains or a river that go back into the distance of the photo, that you really make sure they look to be farther away. This creates a sense of realism in distance and will make everything closer in the image pop way better.
Vignette is also a useful edit to darken the edges around your photo and get a moody lighting all around. If you have a darker image, less vignette is more, since you will just create black spots all around the photo. However, in a lighter image, vignette can help cut down on the brightness of the photo and also make objects pop out towards the middle of the photo. After you do this, add whatever creative effects that are necessary for the photo, sharpen it, and be sure to have saved the original and the edited copy. You don’t want to lose the original photo, as you can then compare the two to see if the edit really did do what you intended it to do. Then, if it doesn’t look quite right, just go back and change whatever is causing the photo to look strange. After this, when it looks right, you know that it was all worth it.