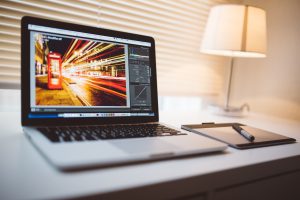
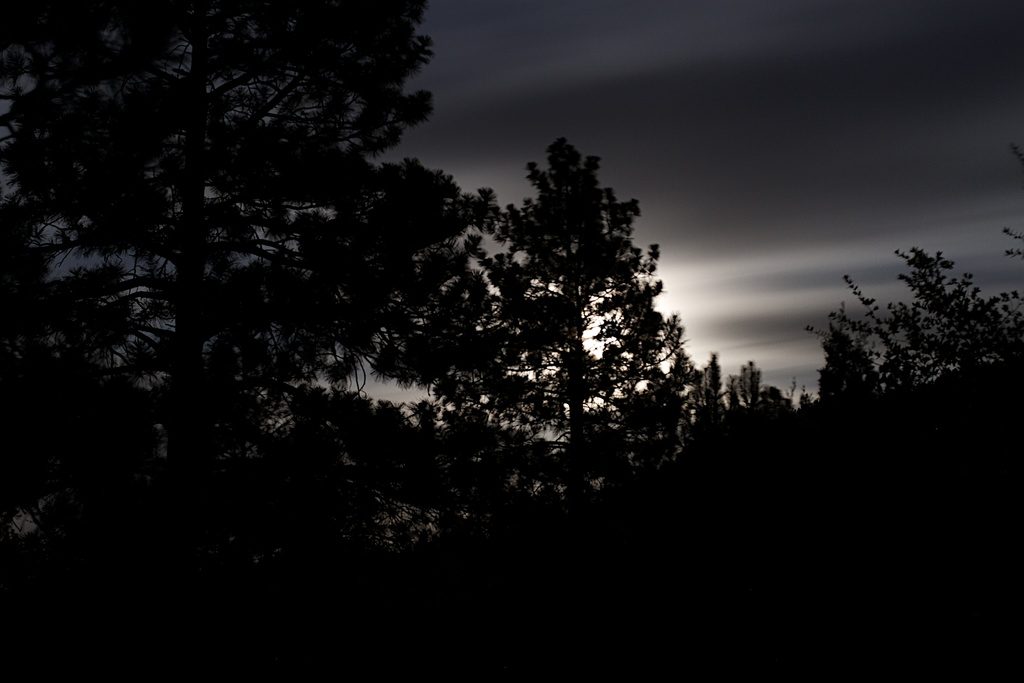
As photographers, we all have to deal with taking photos in low light areas. Unfortunately, if you take a photo in low light, editing it to try and bring in more color and light is very difficult and will often not get you the results that you want. There are many ways in which you can set up your camera to take amazing photos in low light. This guide will tell you about some of the ways in which you can easily change the settings on your camera to effectively take photos in low light areas.
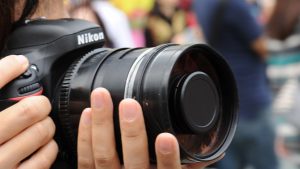
The first thing you will want to do is change your cameras aperture, making sure it is in a priority mode so that you can change all of the options that your camera has. You will want to use a larger aperture, as doing this will let in more light to the lens and increase the light in your photo. Depending on what you are taking a picture of, you will want to have the aperture larger than you would in a well-lit area, but some types of pictures require smaller apertures than others will. Another thing you will want to do is to turn up the ISO. You may have to do some post processing with the photo depending on what kind of camera you use, but this is not a big deal.
If you are taking a picture of people or still life objects, then having an external flash on your camera is very helpful in low light areas. You may want to use a diffuser to prevent dark shadows from appearing all over the place, and to smooth out the areas of darkness rather than have light areas and then very dark areas.
Another thing you will want to test out is slowing down the shutter speed. The longer the shutter is open, the more light will get in, so you should experiment will this if you are able to. You want to find the sweet spot that lets in enough light, but not too little or else the photo will appear too dull. If your camera has an on-camera pop-up flash, you will probably want to have that turned off. Use an external flash if possible, but if you do not have one, then you may want to take a photo with the flash off and then the flash on and compare the results. The on-camera flash will be directly on the focus of the camera, so sometimes it can be a little too much and make things look way to bright in a small area.
Do not be afraid to test out all of these different settings to figure out what looks best to you on your specific camera. Try to memorize what settings you use for certain light levels and photos that you take and you can use these settings to roughly guess what you will need to change based on what changes in the subject of your photo.